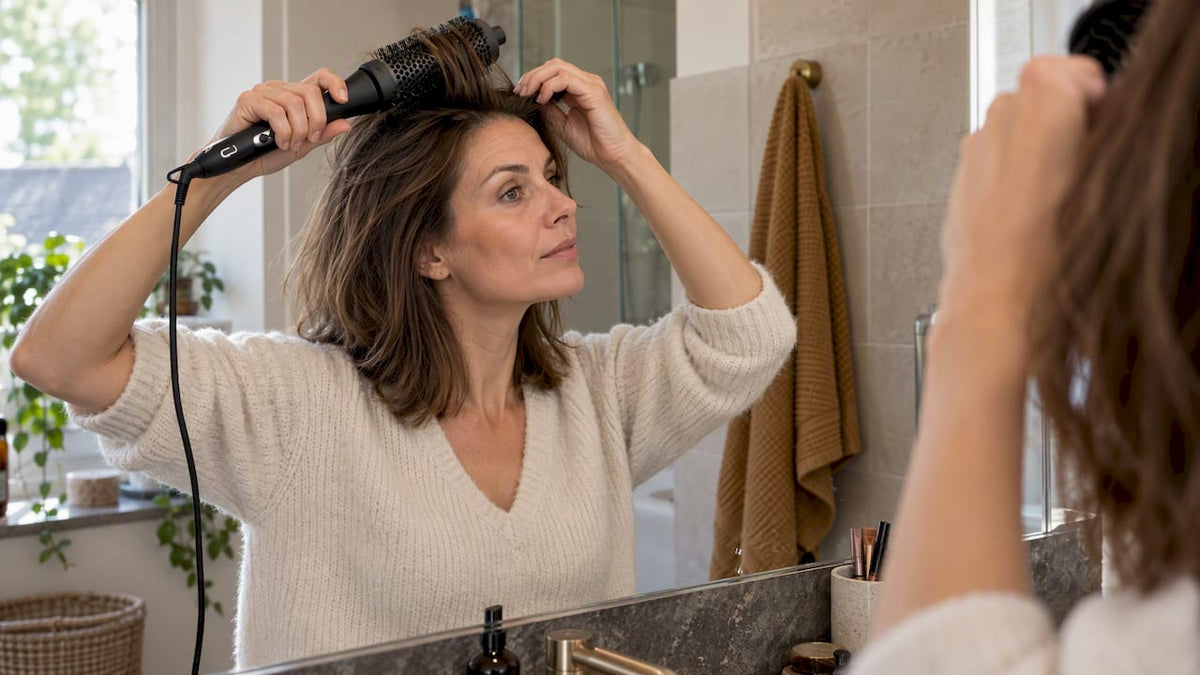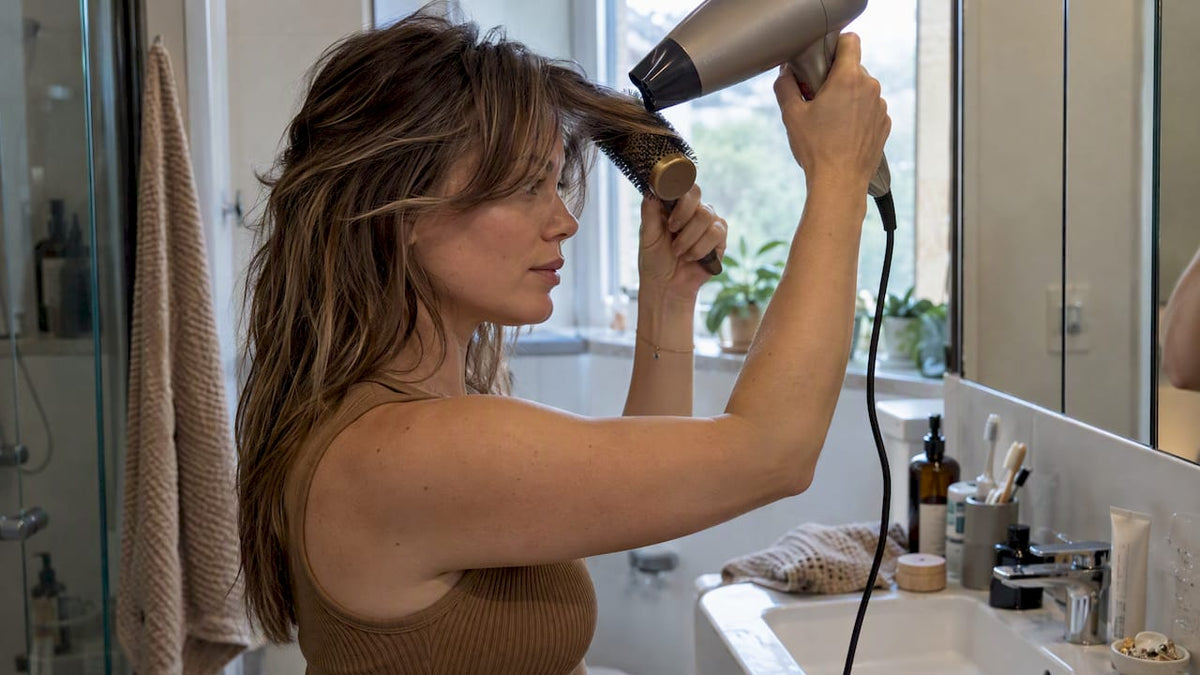
To blow-dry curtain bangs, follow a two-step process. First, blow-dry the roots in opposite directions—or forward across your face—until they’re dry and have volume. Only then should you use a round brush or a heat brush to sweep the lengths to the side, away from your face. If you blow-dry them straight back, you’ll end up with flat bangs with a gap in the middle. Below, you’ll find the complete step-by-step technique, what you’ll need, how to adapt the method to straight, wavy, or curly hair, and how to keep your bangs styled all day long.
In a nutshell
- First, blow-dry the roots, then style the rest of the hair. Blow-dry the bangs to the left, to the right, and forward until the roots are dry. Only then should you part your hair.
- Start with damp hair, not soaking wet hair. Bangs dry very quickly and set as they dry, so start styling them right after you shower.
- Turn the strands outward, toward your ears. That way, the bangs will fall like a little curtain instead of straight into your eyes.
- Adjust the method to suit your hair type. Fine hair needs volume especially at the roots, while frizzy and wavy hair needs body and a cool finish.
- A heat brush or air styler saves you a step. You can dry and style your hair at the same time, leaving one hand free.
Table of Contents
- What exactly are curtain bangs?
- What You'll Need
- How to Blow-Dry Curtain Bangs in 6 Steps
- More volume at the roots
- Tailor it to your hair type
- The Mistakes That Can Ruin Your Pony
- Heat and Hair Damage: What to Watch Out For
- Our take: fewer steps, better pony
- Style your curtain bangs in one simple step
- Frequently Asked Questions
- Sources
What exactly are curtain bangs?
Curtain bangs are a style of bangs that are shortest in the center and gradually get longer toward the sides. The longest strands usually fall around your cheekbones. Hairstylists prefer to cut them so that the shortest parts start at the bridge of your nose, as this creates the most natural curtain-like effect.
The difference between curtain bangs and face-framing layers lies in their placement and volume. Curtain bangs are a distinct section of bangs with lift at the roots. Face-framing layers are longer layers that blend gradually into the rest of your hairstyle. That difference also determines how you blow-dry your hair: with curtain bangs, it’s all about the roots; with face-framing layers, it’s about the movement in the lengths.
By 2026, curtain bangs will no longer be a standard cut. Stylists are increasingly treating them as a custom look that they tailor to your face shape, with either short or long variations. That’s good news, because it means your blow-drying technique can also differ from what you see in a video. Shorter bangs require a smaller curl, while longer bangs call for a larger, softer curve.
The reason so many women choose them: they’re forgiving. Compared to straight bangs, curtain bangs don’t have a noticeable, awkward regrowth phase. A stylist put it this way in *Vogue Netherlands*: “When done right, curtain bangs look good on everyone.” That “done right” refers to the cut, but just as much to how you blow-dry them every morning.
What You'll Need
You don't need much, but the tool you choose determines how many steps it takes. Here are the options side by side:
| Tool | What it does | Suitable for | Point to Note |
|---|---|---|---|
| Hair dryer with narrow nozzle attachment + round brush | Traditional method, a lot of oversight | Anyone with experience working with both hands | It's hard to hold the hair dryer and brush at the same time when styling a fringe |
| Heated Brush | Dries and shapes in a single motion | A gentle curl and volume at the roots | Choose a size that matches the length of your bangs |
| Hair Styler with Brush Attachment | Blow-dries and styles with airflow | Anyone who styles their entire head of hair in a single session | Work with small sections to achieve a neat shape |
| Flat brush or comb | Smoothing the base | First step: Blow-dry the roots until they're dry | Does not round the lengths |
You'll also need:
- A heat protectant designed for blow-drying. Apply it to damp hair.
- A microfiber towel to squeeze moisture out of your bangs without rubbing.
- Two small clips to keep the rest of your hair out of the way.
- Optional: a light dry shampoo or texturizing spray for fine hair that tends to go flat quickly.
A fringe is short and sits close to your face. That’s why a tool that combines drying and styling is often more convenient than using a separate hair dryer and brush: you have one hand free to guide the strands, and you don’t have to juggle things in front of the mirror.
How to Blow-Dry Curtain Bangs in 6 Steps
This method works for most hair types. Then read the adjustments for your hair.
-
Moisten your bangs—don’t get them soaking wet. If you haven’t washed your hair, just wet your bangs with a plant sprayer or under the faucet. Squeeze out the water with a microfiber towel. Hairdressers recommend letting your hair air-dry 10 to 20 percent before blow-drying it. For bangs, that takes about a minute or two: don’t wait too long, because bangs that air-dry on their own will set in their natural curl or quiff.
-
Apply a heat protectant. Use only a small amount: bangs are small, and too much product will make them heavy and greasy. Comb it through from the roots to the ends.
-
Blow-dry the roots in opposite directions. This is the step that makes all the difference. First, blow-dry your entire fringe to the left, flat against your scalp, and then to the right. Repeat this until the roots are dry. This “erases” your natural part and prevents a gap in the middle. If you want more volume, blow-dry your fringe straight forward across your face a few times as well. Direct the airflow from top to bottom so that the hair cuticles remain smooth.
-
Now is the time to part your hair. Part your bangs in the middle or slightly off-center, wherever they fall best. Are the roots still damp? If so, let them dry a little more first, because wet roots won't hold their shape.
-
Twist the strands outward. Take the left half of your bangs, place your round brush or heat brush underneath them from the bottom, and pull the section slightly upward and forward. Then slowly roll the brush outward, toward your ear. Blow-dry the end of the section to the side, away from your face. Repeat on the right side. If you’re working with longer bangs, create a wider curve that extends all the way down to your cheekbone.
-
Set it with cool air. Hold the brush still in the section of hair for a few seconds and switch to the cool setting. The hair will take shape as it cools. Don't let go of the section until it feels cool to the touch. Then fluff out the bangs with your fingers so they fall softly instead of in two tight rolls.
Ready in five minutes. After a few tries, it’ll go faster than blow-drying your whole head of hair.
More volume at the roots
Flat curtain bangs are the most common complaint. Volume is almost always at the roots, not at the ends. Three things can help:
- Blow-dry against the direction of hair growth. Notice which way your hair naturally falls, and blow-dry the roots in the opposite direction first. This will make the roots stand up straight.
- Lift the section of hair as you twist it. In step 5, don't hold the brush flat against your forehead; instead, pull the section of hair up at an angle. The steeper the angle, the more lift.
- Use a larger brush for soft volume. A narrow brush creates a tight curl, while a wider brush creates a round, airy wave. A heated brush with a diameter of about 38 millimeters works well for curtain bangs that fall to your cheekbones or longer. For very short bangs, a smaller brush works best.
Do you have fine hair? If so, the cut is just as important as blow-drying. A short shag is often paired with curtain bangs, because the textured layers instantly add volume to fine hair. So ask your stylist for layers that “support” your bangs.
Tailor it to your hair type
Curtain bangs look good on almost everyone, but how you style them depends on your hair texture. Here's how to adapt the basic method.
Straight and fine hair
Your challenge: The bangs lie flat and part in the middle. Blow-dry the roots longer in opposite directions, use less product, and avoid heavy creams. A touch of dry shampoo at the roots after blow-drying adds texture. Curl the lengths outward in a wide arc and shake them loose.
Wavy and fluffy hair
Your challenge: Your bangs curl or frizz out in all directions as soon as they dry. Start right after showering, before the waves set in. Apply more tension: pull the strand taut over the brush and blow-dry from root to tip, so the cuticles lie flat. Always finish with cool air. A tool that dries and styles in one motion offers the greatest advantage here, because it keeps the hair taut while it dries.

Curly hair
You can blow-dry your bangs until they're straight, but you don't have to. The trend in 2026 is actually moving toward softer, more natural textures and less sleek looks. If you want to keep your curls, dry your bangs with a diffuser on a low setting and scrunch them into shape. If you want them straight, first blow-dry just your bangs following the steps above and let the rest of your hair curl.
Thick hair
Thick hair requires more time and more heat. Divide your bangs into three sections instead of two: left, center, right. Blow-dry the center section straight forward first, and then briefly to both sides, so the transition is seamless.
The Mistakes That Can Ruin Your Pony
- Blow-dry straight back. This is the classic mistake. You’ll end up with flat roots and a harsh part. Start with the roots, then the shape.
- Let your bangs dry. Bangs dry much faster than the rest of your hair. Blow-dry them first, before you tackle the rest.
- Blow-drying soaking-wet hair. That takes up an unnecessary amount of heat and time. Squeeze out the moisture first.
- Too hot and too close. Your bangs are right against your skin and are thin. Set the dryer to a medium setting and keep the airflow moving.
- No cooling step. Without cold air, the mold will collapse within an hour.
- Too much product. For such a small section of hair, a pea-sized amount is enough. Using more will make your bangs limp and greasy, especially if they’re pressed against your forehead all day.
- Touching your bangs. The heat and oil from your fingers will make them flat. Instead, use a small comb to brush them to the side.
Heat and Hair Damage: What to Watch Out For
Because you often blow-dry your bangs every day—even on days when you don’t wash your hair—this section of hair is actually exposed to the most heat. Hairstylists cite using the wrong tool and blow-drying on soaking-wet hair as common mistakes in heat styling.
Now that the weather is getting colder, this is even more important. A dermatologist explains that cold air strips moisture from the scalp and hair, and that the heat from the hair dryer accelerates that damage. Her advice: let your hair air-dry partially first. For your bangs, that means: don’t start with them too wet, use a heat protectant, don’t blow-dry them any longer than necessary, and finish with cool air. If your bangs are breaking off, feel straw-like, or if you notice thinning spots along your hairline, have your hairstylist take a look before using more heat.

Our take: fewer steps, better pony
We hear this often from customers: the haircut at the salon looked great, but they can’t get it right at home. Almost always, the problem lies in the technique of using a hair dryer and a round brush. You’re holding two things at once, right in front of your face, while everything appears in reverse in the mirror. No wonder it doesn’t work out for the first few weeks.
That’s why we believe in tools that combine drying and styling. With a heated brush, you can create an outward curl in a single motion while guiding the section of hair with your other hand. With an air styler, you can blow-dry and style using airflow, so your bangs become smooth without having to blow-dry them first. That saves a step, and when you’re styling your bangs every morning, every step counts.
Based on our experience working with thousands of clients, here’s our tip: first, learn how to blow-dry the roots properly. Once you’ve mastered step 3, you’re 80 percent of the way there. The beautiful curtain-like fall at the end is then mostly just a matter of practicing a few times.
— Dave
Style your curtain bangs in one simple step
Want to cut down on the hassle of using a hair dryer and brush? The Bounce Brush 38MM is a heated brush that adds volume and creates a salon-quality blowout: perfect for curling the lengths of your curtain bangs outward in a gentle arc. Check out the tutorial for the heated brush to see how to use it.
Do you style your bangs along with the rest of your hair? Then the Easystyler Pro air styler is a great choice—it’s also available in black. Be sure to check out the guide on how to use an air styler beforehand. For frizzy or wavy hair that you want to smooth out, the Airglide tutorial shows you how to dry and style your hair at the same time. You can find our entire selection in our styling tools section.

Frequently Asked Questions
How do I turn regular bangs into curtain bangs?
Let your bangs grow out for a few weeks until they reach at least your eyebrows or nose, and then ask your stylist to part them in the middle and cut them longer on the sides. In the meantime, you can blow-dry straight bangs with a center part and curl the ends outward. This will help your hair get used to the new style.
Why does my bang split down the middle?
This is usually because your bangs have dried with a natural part or a crown at the hairline. Re-moisten the roots and blow-dry them, alternating between left and right, until the roots are completely dry. Only then should you create the part and sweep the lengths to the side.
Can I blow-dry curtain bangs without washing my hair?
Yes, and that's what most women do. Just dampen your bangs with water, squeeze out the excess moisture, and blow-dry them following the steps. That way, you'll have fresh-looking bangs in just a few minutes—even on the second or third day after washing.
What is the difference between curtain bangs and face-framing layers?
Curtain bangs are a distinct, shorter section of bangs that starts in the center and has volume at the roots. Face-framing layers are longer layers around your face that gradually blend into the rest of your hairstyle. Many hairstylists combine the two so that the bangs blend seamlessly with the rest of your hair.
How do I keep my curtain bangs looking good all day long?
Always set your style with cool air, use a small amount of product, and touch it with your fingers as little as possible. Keeping a small comb or travel brush in your bag helps you sweep your bangs to the side again in the afternoon. If they start to flatten, a few seconds of warm air followed by cool air at the roots will restore their volume.
Sources
- Allure: Why Curtain Bangs Look Amazing on Everyone
- Allure: Bangs Are Getting Bolder in 2026
- Allure: The Spring Haircut and Color Trends of 2026
- Vogue Netherlands: Curtain bangs look good on everyone
- Vogue: How to Style Curtain Bangs, According to the Pros
- NewBeauty: How to Blow-Dry Curtain Bangs Quickly and Easily
- MOOOI Stylists and Hairdressers: The 5 Most Common Mistakes When Styling with Heat
- OnlyMyHealth: Tips for Preventing Hair Damage From Blow Dryers in Winter
- Healthline: Best Haircuts for Thin, Fine Hair